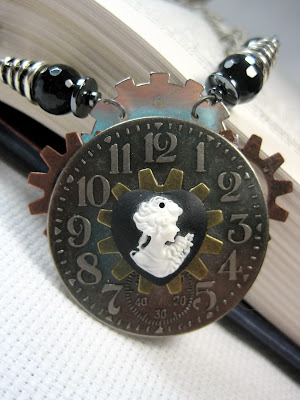
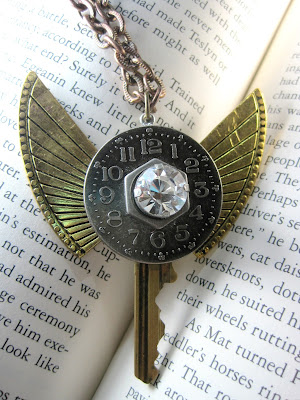
It appears that I'm having weekly themes! My lovely little sister gave me a whole bucket full of spent shells from her husband's latest foray to the shooting range. They hung out for quite some time before I got around to doing anything with them. Thanks to the blog I thought I could figure out at least seven different things to do with shell casings. That turned out to be not quite true. I managed to execute six different designs for the bullets, but I was lacking a seventh. My seventh object was a washer that I wanted to turn into a pendant. Because with most of the bullets I had decided to solder jump rings to the top, I used it to add a jump ring to a washer, and then decorated it.
 |
| The world's most amateur attempt at a solder join. |
 |
| The finished washer pendant with chain |
I am pretty happy with the washer pendant overall, as long as I don't look at the back too long. I'm much happier with the bullet projects. They are all pendants waiting to be officially made into necklaces, except the lucky two that actually got hung on a chain. I'm pretty happy with the results. overall I consider this week a success, but I'm a little worried about keeping up this accidental weekly theme thing. :) Still, here are the finished bullet pendants. See you next week!
 |
| Bullet with butterfly wings. I'm so from the 90s. |
 |
| I added origami paper, a bent brass finding, and some chain to this bad boy. I think this one is my favorite. |
 |
| I "re-tipped" this bullet with a an amethyst bead from my stash. The casing is also "engraved" (aka I slipped while drilling holes and decided to drag the drill all over the casing to make squiggles to hide it.) |
 |
| This one got wrapped in text printed tissue paper and tipped with a quartz crystal point. I then "antiqued" the paper by running a heat tool over the paper to add the dark edges. |
 |
| This bullet was treated with an ammonia fume and salt treatment to turn it from its original brass finish to this really cool mottled blue. I added a red tiger eye tip before I gave it the patina treatment as I was worried trying to "smoosh" the end of the bullet around the bead would mar the blue finish. |
|


